This post is mostly a pre-cursor to exploring how identity works with things like Teams Apps and Azure's API Management Service. But we do have to start somewhere so I thought I'd start right at the beginning.
In this post I'll show you the basics of how you can get started with Okta in 5 minutes .. and for free. Think of it as IDaaS (IDentity as a Service). What we'll cover today is:
- A bit about IDentity As A Service with Okta.
- We'll cover what a basic setup of an Okta cell looks like.
- We'll also play around with some customizations like Logos, adding custom domains and notification templates.
- And then we'll use our okta cell to protect a locally running node web app.
Now, My take on IDaaS, is from the point of view of a developer. A developer, wanting to bring a web-based SaaS apps to the market.
If you'd prefer to watch this on youtube click the link below.
So let's get into it ...
What is IDaaS
A good place to start is by defining what is IDentity-As-A-Service or IDaaS?
IDentity As A Service providers allow you, the developer, to outsource components of identity and access management to the provider itself. This way, the developer can now focus on adding value; while the IDaaS provider focuses on managing identity and access in this difficult threat environment.
Identity today is built on many standards such as OpenID Connect, SAML, OAuth and WS-Federation. By using a provider, it allows you to add a layer of encapsulation, making the complex simple.
Most IDaaS providers will allow you to do basic things like adding custom registration and login experiences.
You can also easily add features like Multi-factor Authentication (MFA) and Single Sign-On (SSO), all with little to no code changes.
Most IDaaS providers also support existing digital identities from third party service providers like Google, Facebook, LinkedIn and Microsoft.
And lastly, one of the more important things is that an IDentity As A Service provider makes is easier for you to comply with different regulatory frameworks like GDPR.
With a healthy competition in this space, IDaaS providers like Okta, Ping Identity, Auth0 and Microsoft are making our lives easier.I'll do a subsequent post on factors to consider when choosing the right IDaaS provider and why we chose Okta. But for today we'll get stright into the fun nerdy bits and setup an Okta Cell.
Pre-Requisites
- An email address for your okta administrator
- A logo to customize your login page
- A domain for your okta cell
- A development environment capable of running node applications to test our setup
Steps
Sign Up
Signing up for an Okta account is a fairly easy process. All you really need to do is to navigate to Okta's developer portal at developer.okta.com and sign-up with your email account.
Also, not needing a credit card to sign up is awesome and allows you to get started quickly. Like any sign up process you'll need to verify your email.
Okta in turn will generate hostname for you, which should appear in the verification email. Might be a good idea to copy it for later.
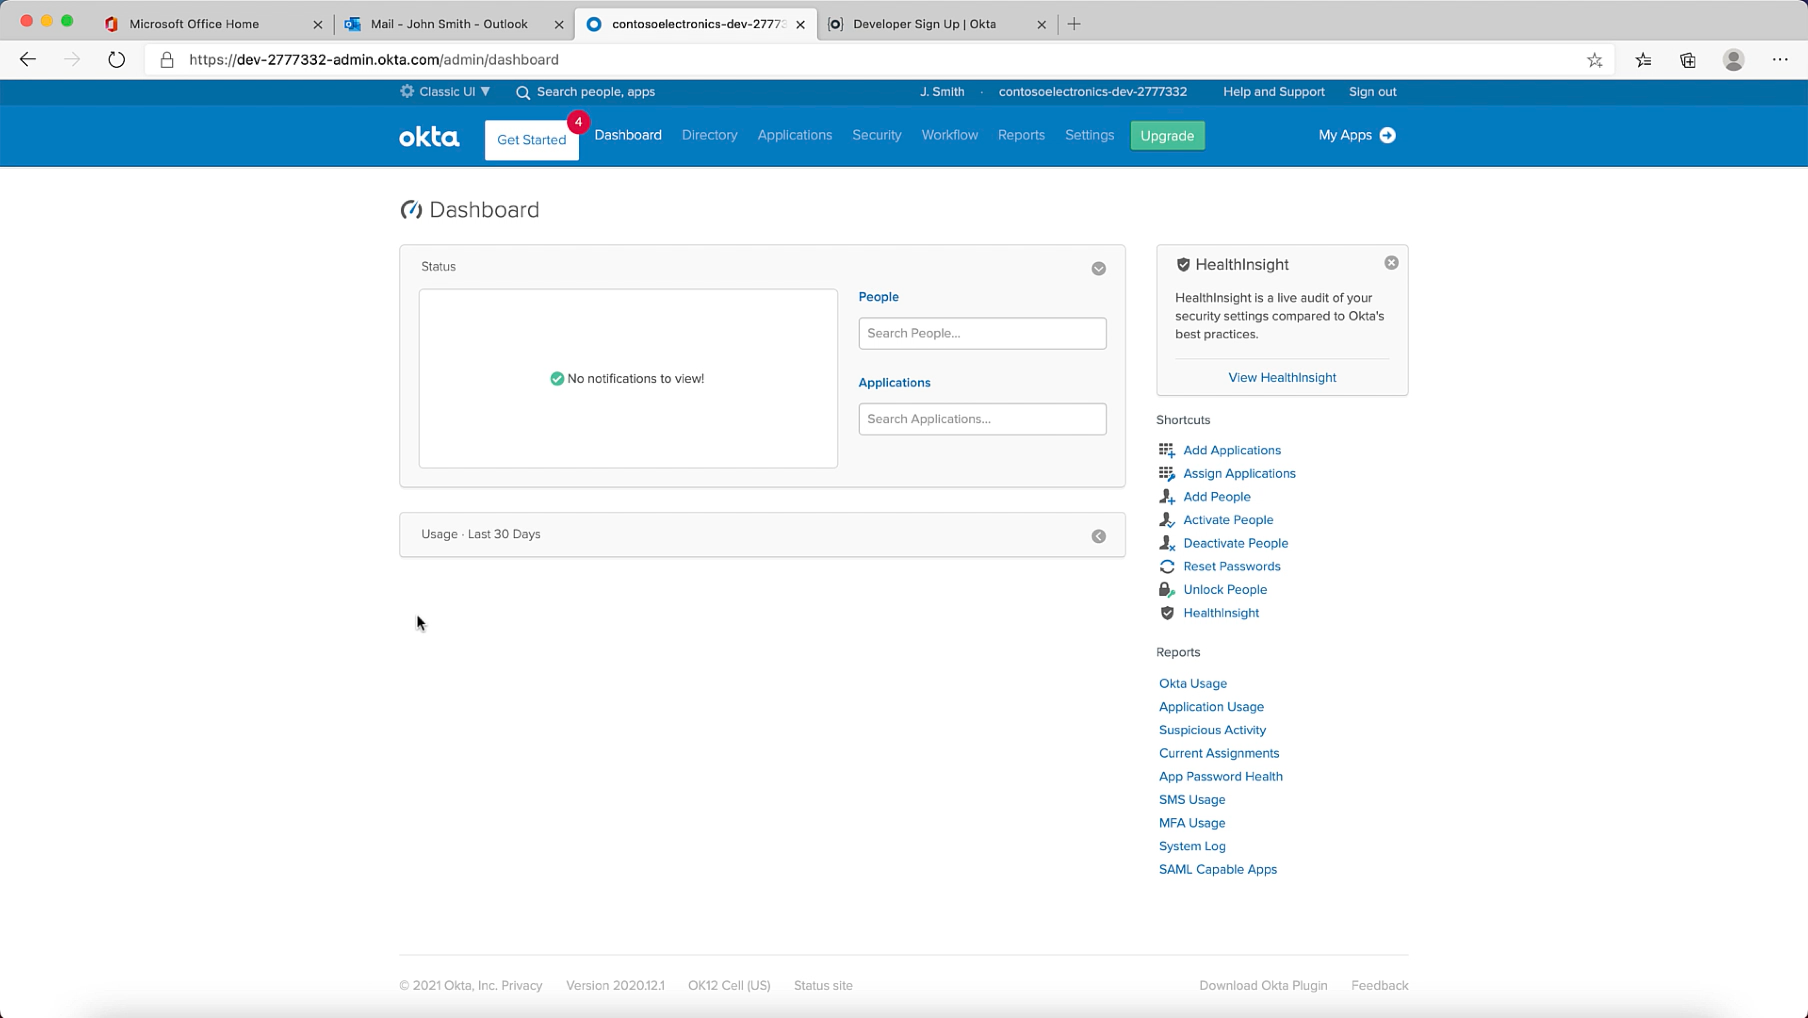
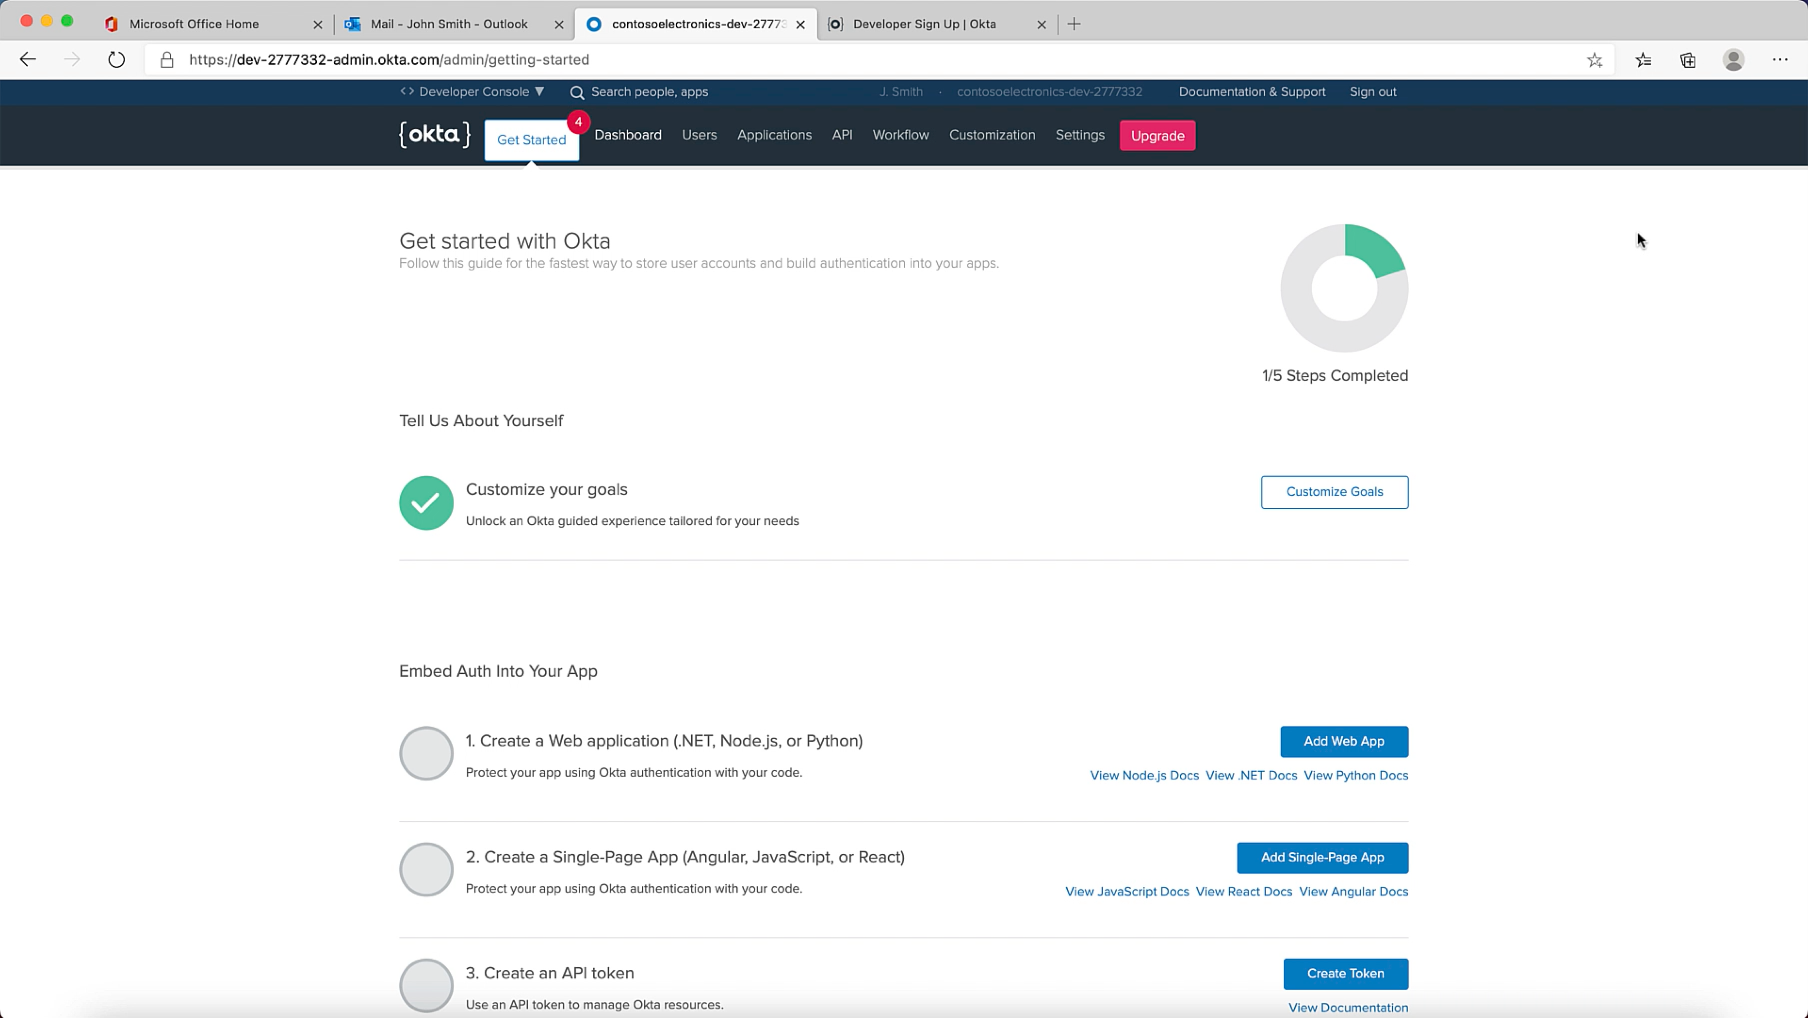
User Interface
After signing up, you'll be presented with your Okta cell's developer console. Okta allows you to switch between this view & the Classic UI. Personally I like the Classic UI.
Its also good to note that in the long run you'll likely control settings with Okta's management APIs. But till then, let's use the classic console.
Add Organisation Details
We'll start the process of personaization with by adding basic Account details such as you address, contact and billing email.
This page also contains an important setting that allows you to give Okta Support access to your cell when you need their assitance. Hopefully you wont need it. As always be careful when granting other access.
Feature Flags
Okta also allows you to toggle different features on your cell like:
- Automated Admin Reports and
- Password Changed Email Notifications
You can also get early access to open beta features.
Logos and Themes
Adding a customised logo & selecting your favourite theme is the next thing you'll want to do.
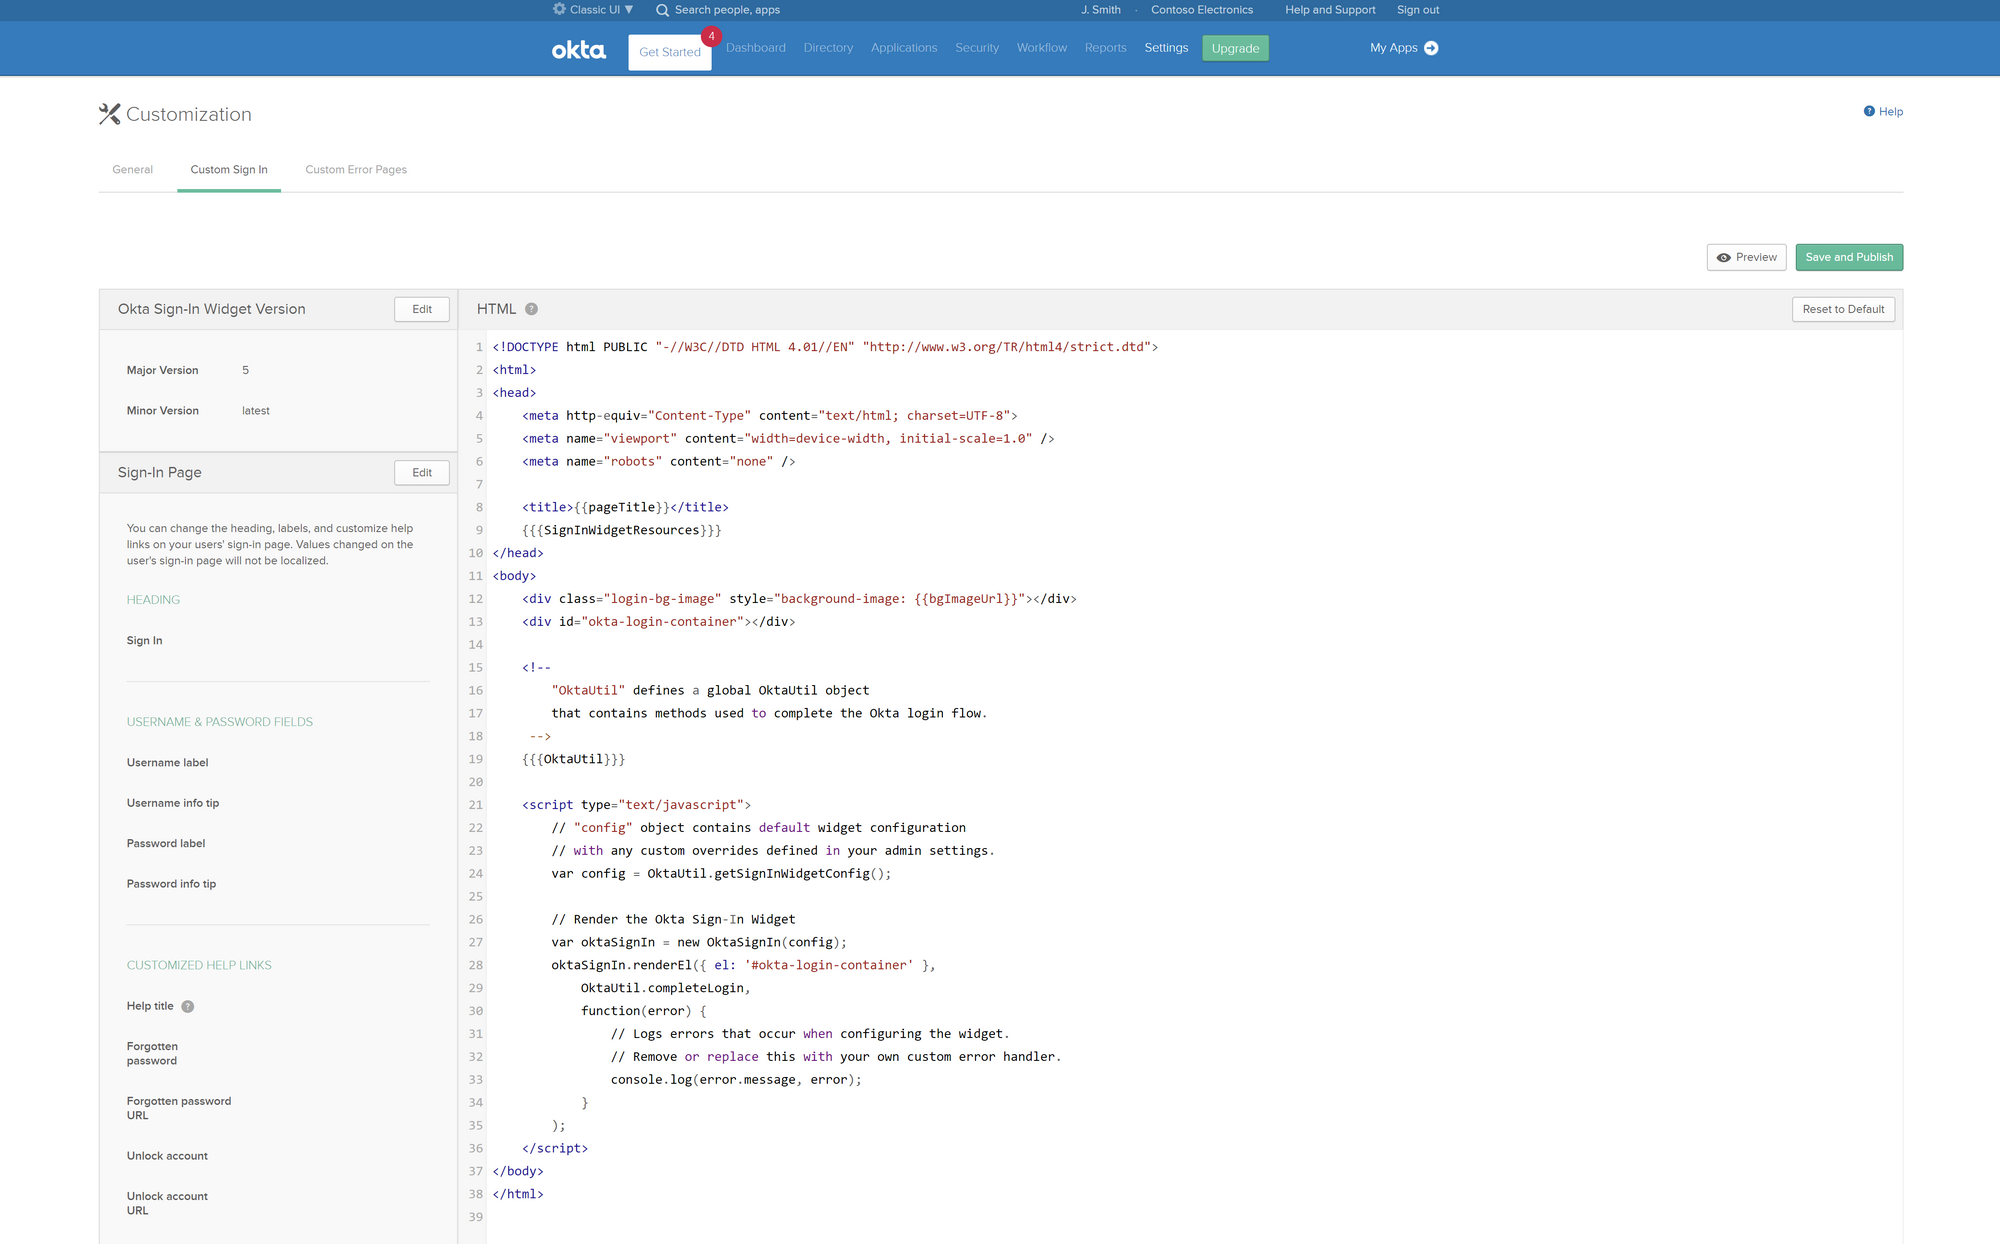
Alternatively you can navigate to Custom Sign In under the Security & Customisations menu & add custom code to make it look right for you.
If you plan on using an Okta hosted login screen it might be worth spending some time making sure that things look as close to your brand guidelines as possible.
Adding a custom domain
An important step to take is to replace the default address of your okta cell. You so this under the Customizations menu item under Settings.
Now before you begin you'll need a couple of things, namely:
- You need to choose your hostname. Based on my domain I chose login.contosoelectronice.org
- You also need the ability to add a DNS record. Both a TXT record to verify domain ownership & the ability to add a CNAME entry
- You also need an SSL certificate for the chosen hostname. If you'd like to know how to get one, watch my other post SSL Certificates with Certbot.
Step 1: Initiate the custom domain wizard.
Step 2: Enter your custom domain name
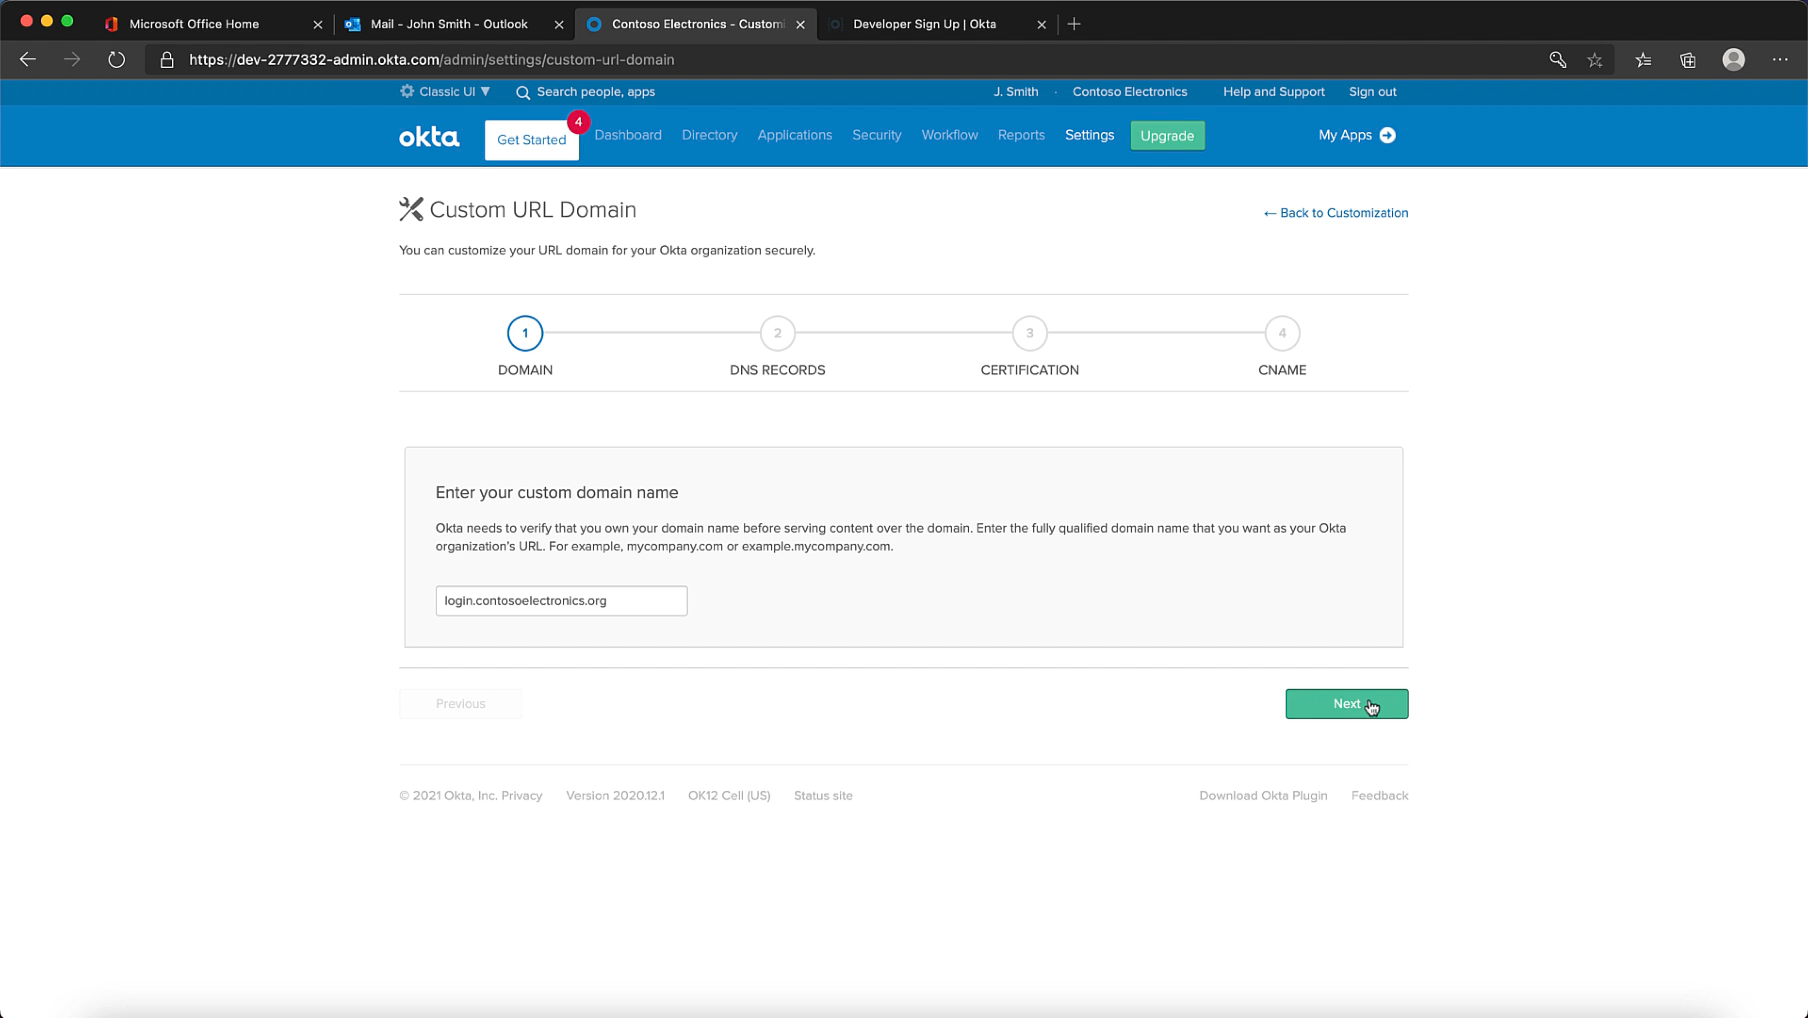
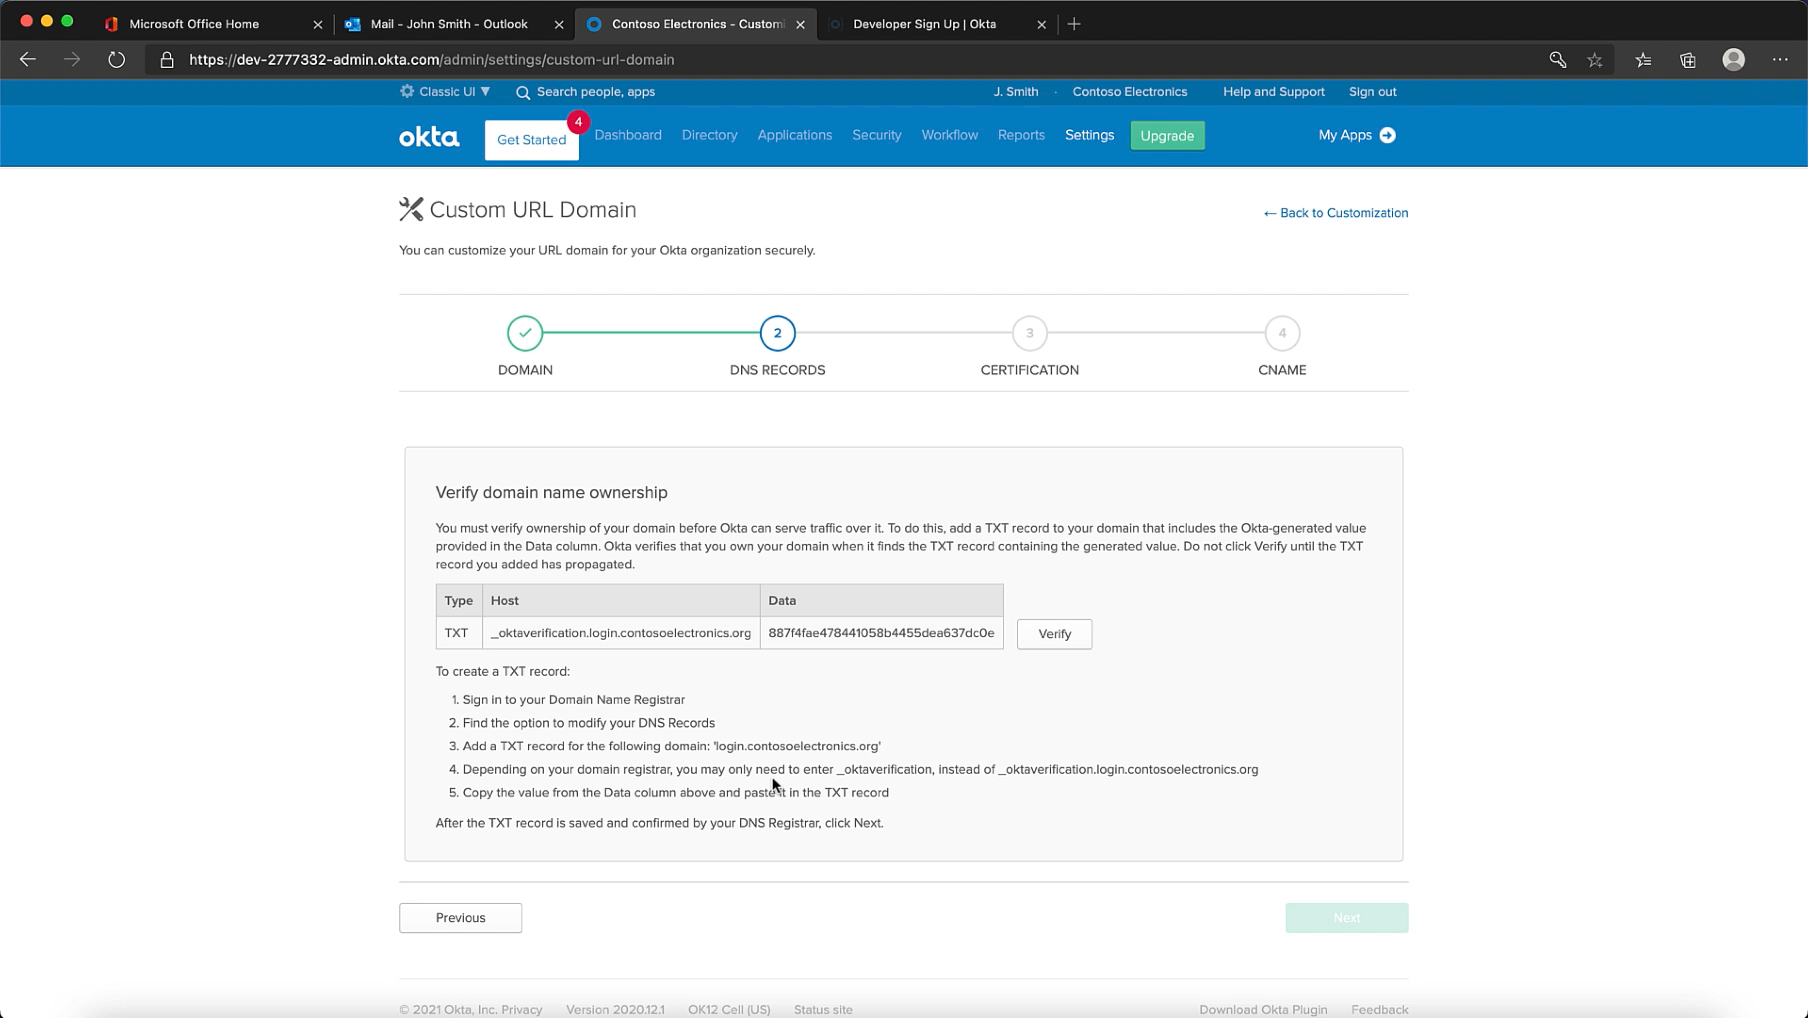
Step 3: Verify that you own the domain by adding a TXT record
Really really really important that you wait for the TXT record to be visible before you click verify here. One way of validating if the TXT record has been propogated is by validating its visible to the dig utility. You can use https://www.digwebinterface.com/ to check the DNS resolution.
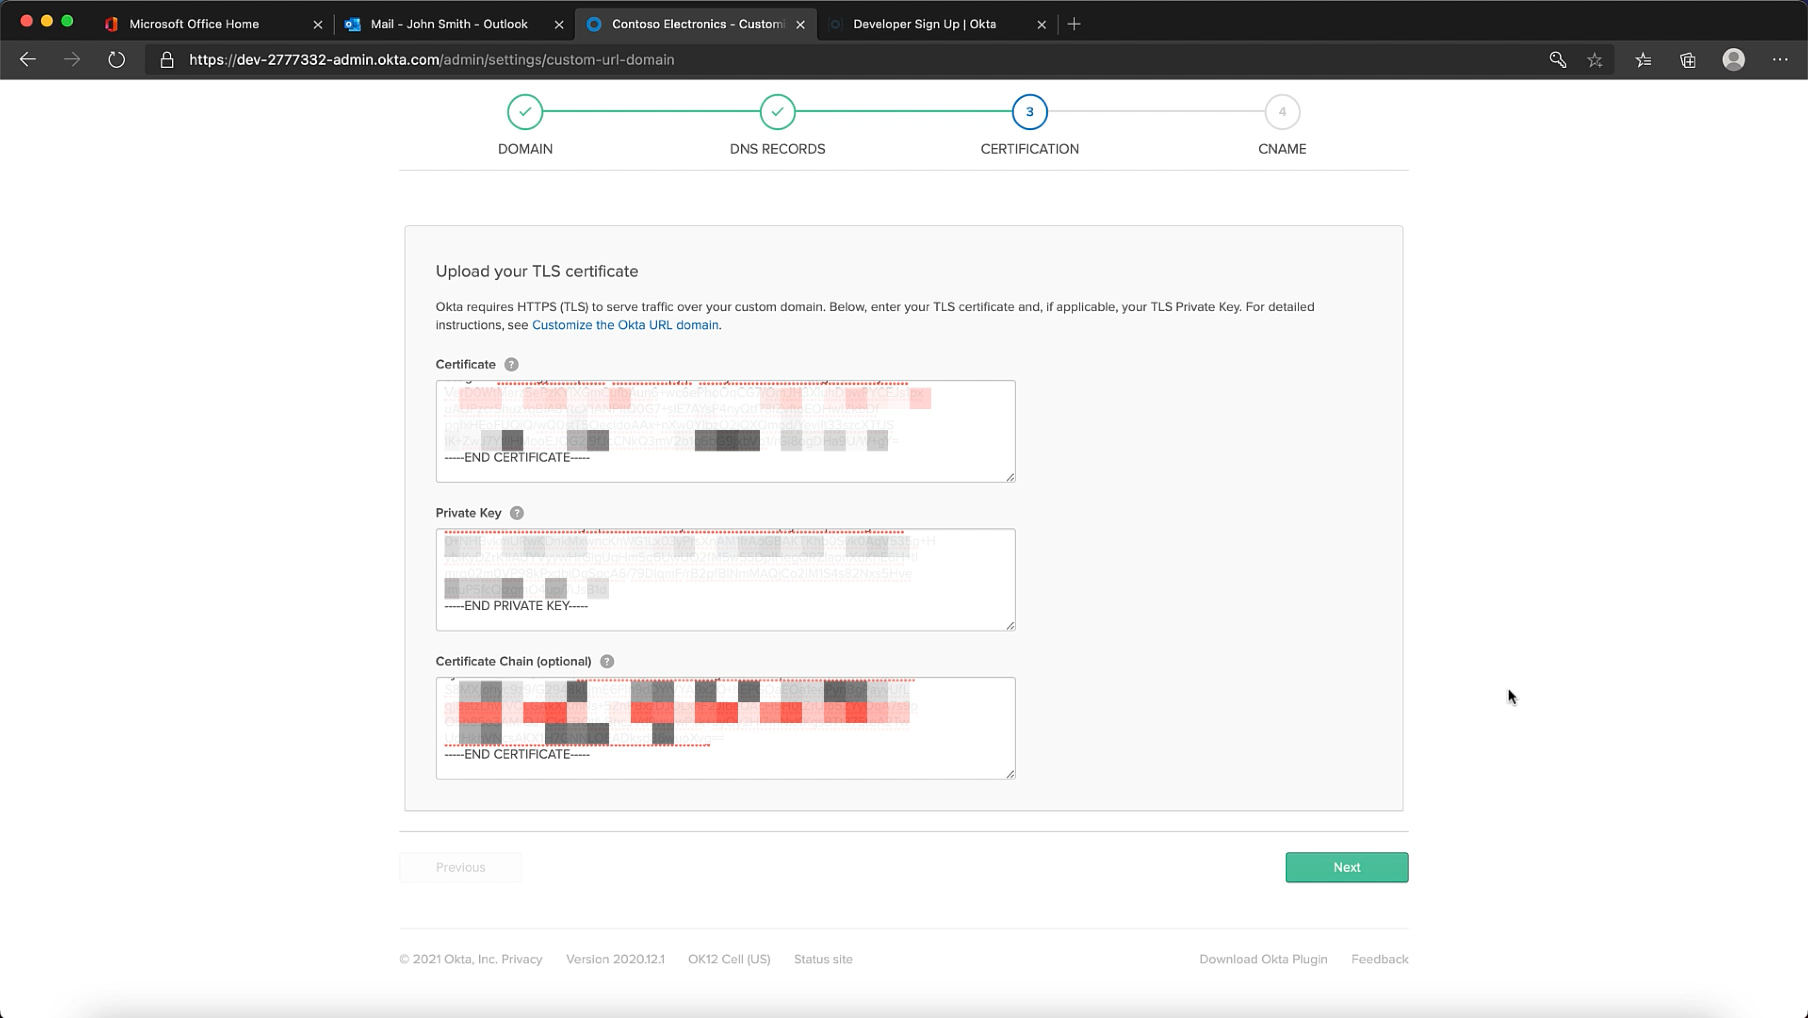
Step 4: Upload your Certificate
If you'd like to know how to get one, watch my other post SSL Certificates with Certbot.
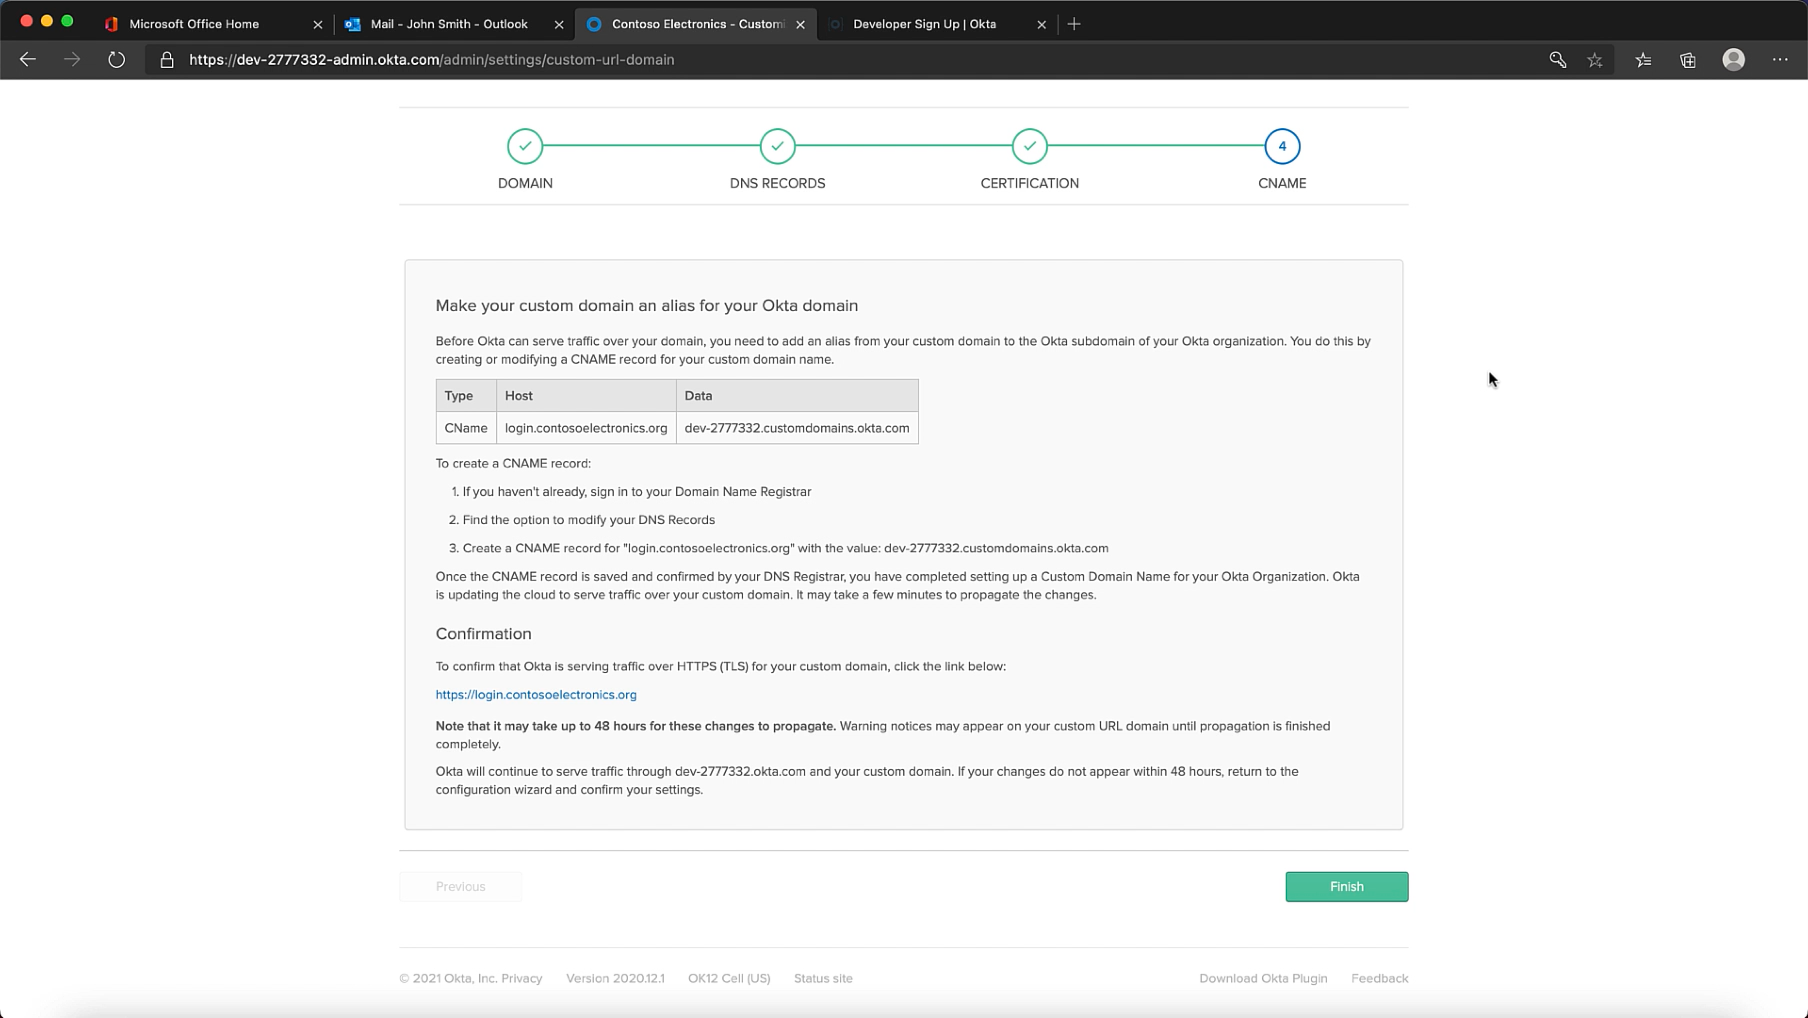
Step 5: Add CNAME record pointing to your Okta Cell
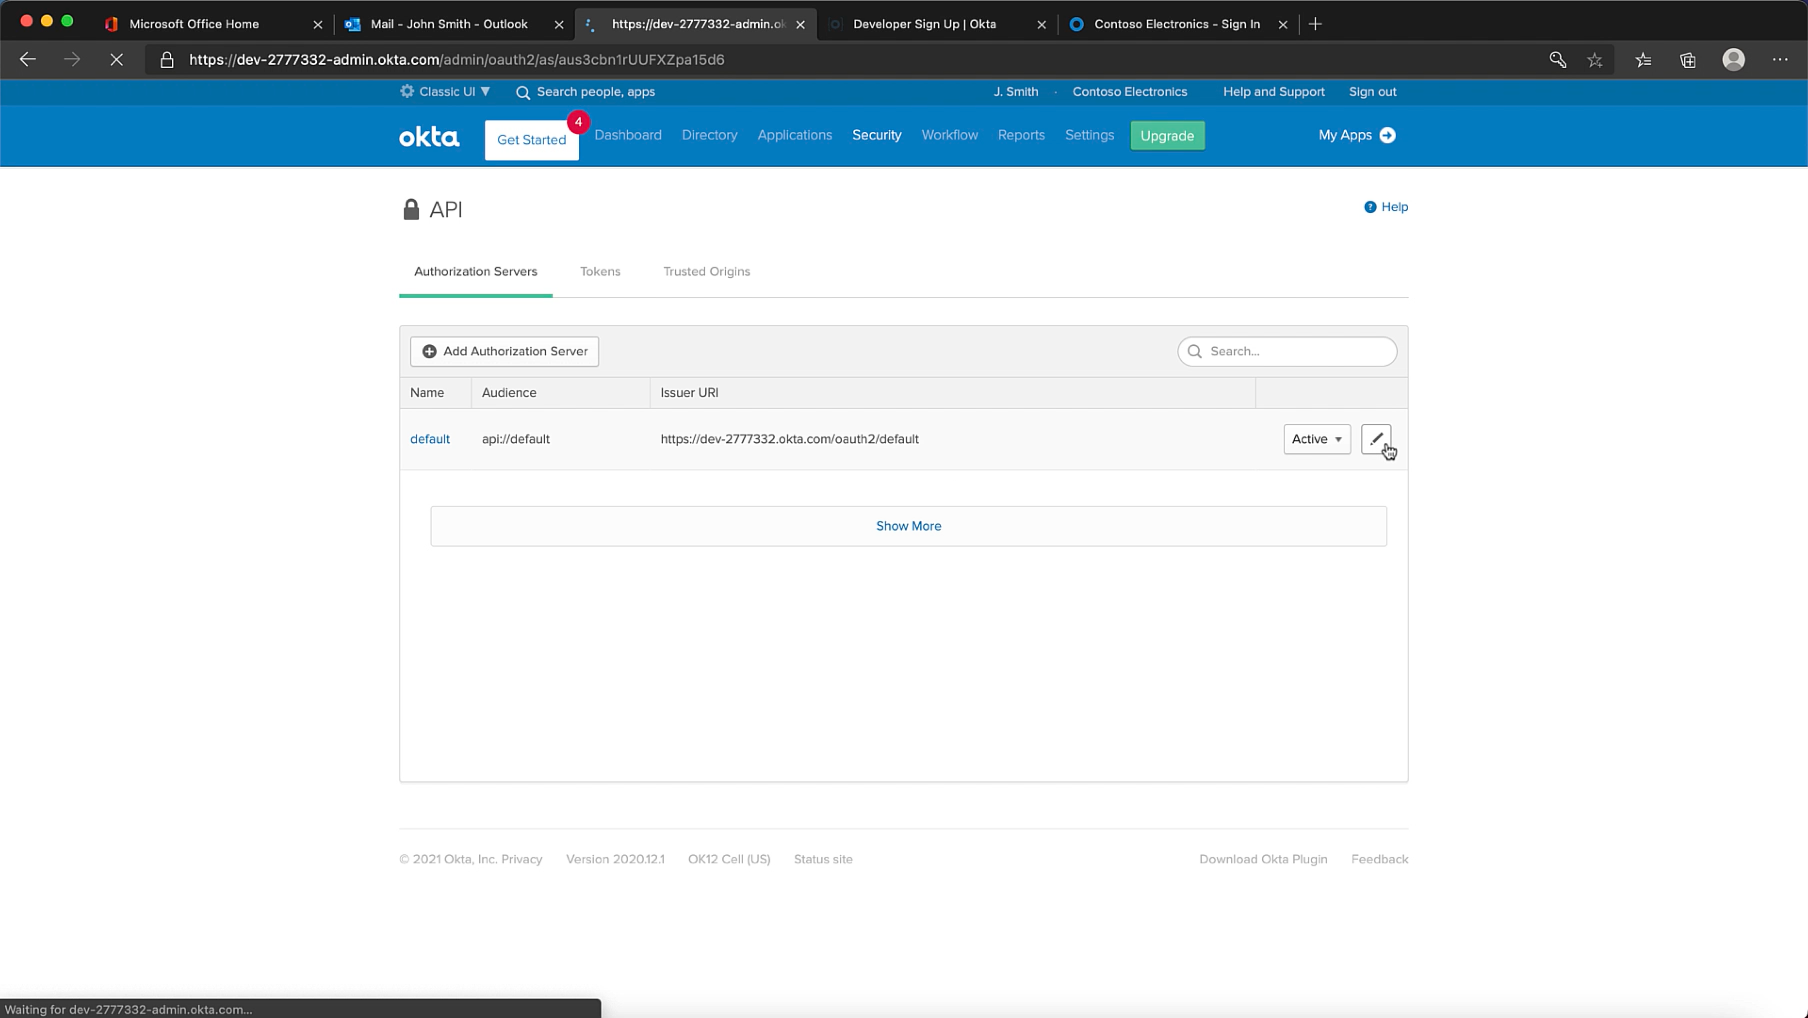
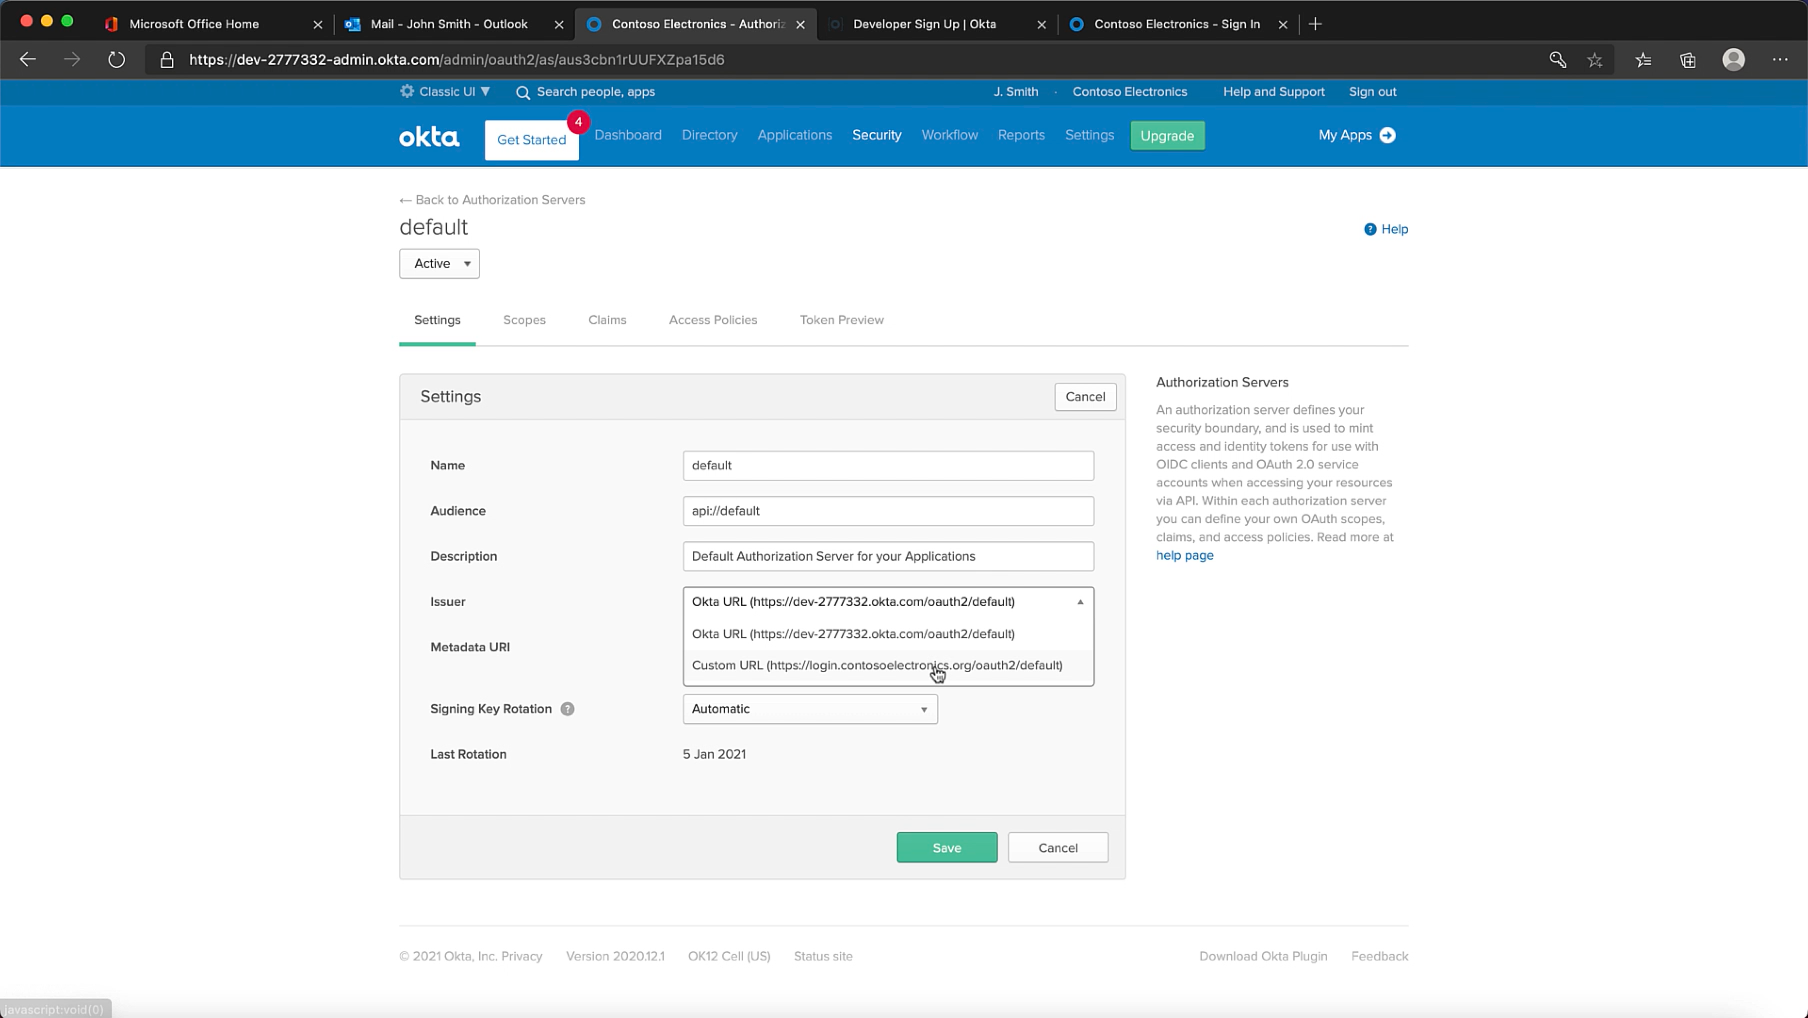
Step 6: Update the Authorization Server Issuer URI
Its also important to update your issuer URI, which you can do under the API menu item under Security. You definitely want to do this before any integrations are in place.
Setup MFA
Probably a good idea to setup MFA now that we have our custom domain in place. You can enable it under Security & Multifactor.
For the purposes of demonstration I'm using Google Authenticator.
Okta supports a variety of factor options.
Now that we've enabled it, okta will prompt newly created users to setup MFA. For yourself though, you'll need to navigate to My Apps, then click on your profile settings, edit & click setup MFA.
While I've used Google Authenticator as my factor you could use the Okta verify app, or email authentication or choose SMS authentication. Though SMS authentication may not be available in the free tier.
Testing
To finish up, lets test our Okta cell. We'll configure a locally running node app to use our newly created Okta cell.
To expedite the process we'll use one of okta's NodeJS quickstarts & clone the sample repo.
git clone https://github.com/okta/samples-nodejs-express-4.git
cd samples-nodejs-express-4
npm install
touch testenv
code .
For this sample we'll create a config file called testenv where we'll add placeholders for:
- the issuer uri
- the client-id
- the client secret
ISSUER=https://{yourOktaDomain}.com/oauth2/default
CLIENT_ID=
CLIENT_SECRET=
OKTA_TESTING_DISABLEHTTPSCHECK=true
Now lets add an application in Okta by navigating to Applications, then Create New App. Select a "Web" app with the OpenID Connect sign-on method.
For the NodeJS app you'll need to add the following logon redirect uri: http://localhost:8080/authorization-code/callback.
Once you save this app, be sure to allow the Everyone group to this application.
The generated client id & client secret now need to be added to the testenv file created earlier. Once you've done this, you're ready to run the application.
npm run okta-hosted-login-server
Navigate to the login url http://localhost:8080 & try loggin in.
Hopefully this expedites your journey with Okta.
References:
 okta
okta